ADVANCED GRAPHICS TERM ONE PROJECTS
Marble Background
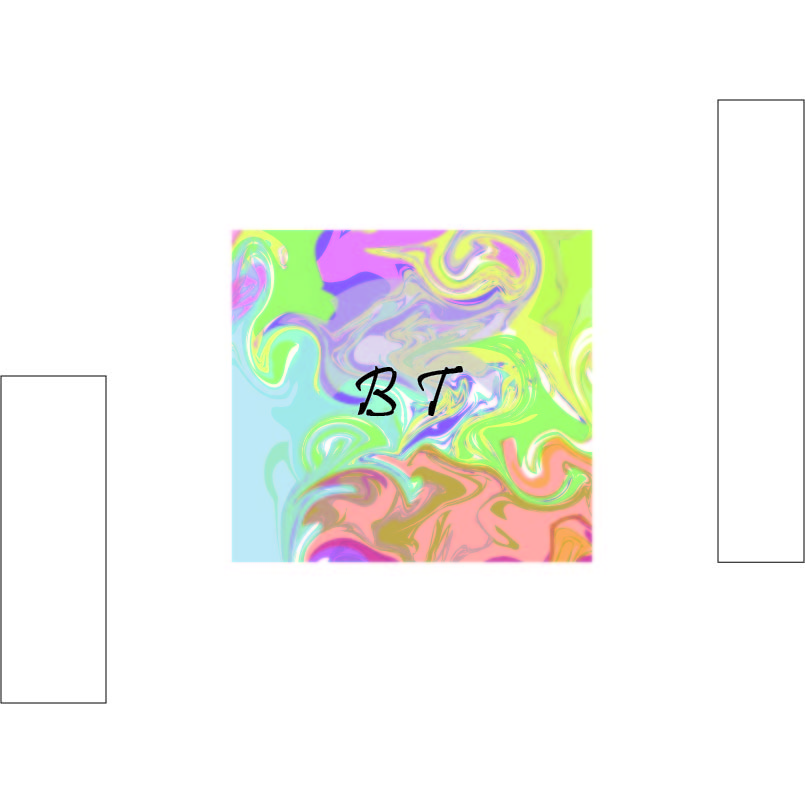
I created the Marble background in Adobe Illustrator. I created several different shapes with the shape tool and made them different colors with no black border and changed the opacity of the shapes. Then I used the Twirl Tool which twirls all the shapes/objects together. I twirled the shapes together to create the back ground, then I added text onto the background and wrote my initials.
Make a (Type) Statement
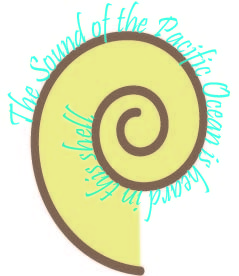
I created a Make a (Type) Statement in Adobe Illustrator. First I had to open up Symbols and select the swirly shell symbol and drag that onto the blank new document. I selected the shell and clicked in the Symbols palette "Break Link to Symbol". With the shell still selected I double clicked Scale tool in the tool box and changed the uniform scale to 250%. I then selected the white spiral in the shell with the Direct Selection tool in the tool box and then changed that uniform scale to 125%. I then clicked the Type tool and selected the Type on a Path option and clicked the white selected swirl and started typing. I selected the text and changed the font and font color. Then I customized the color of the shell, and the swirls of it. I shifted it so the words would be easier to read. Then I grouped the text and the symbol together and exported it as JPEG.
Make a (Type) Statement Extras
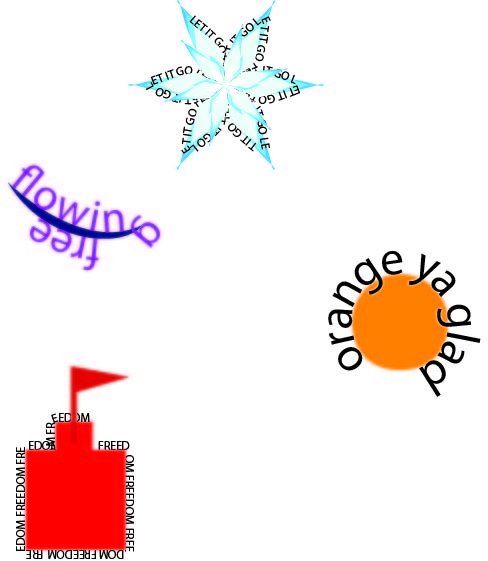
These four Make a (Type) Statements were extras/practice before we made the original one above this one.
Pen Tool With a Pear
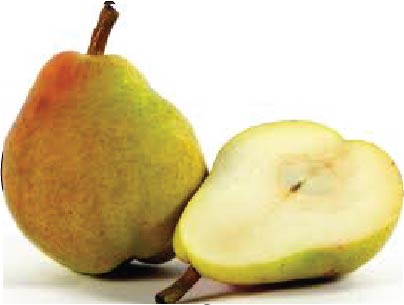
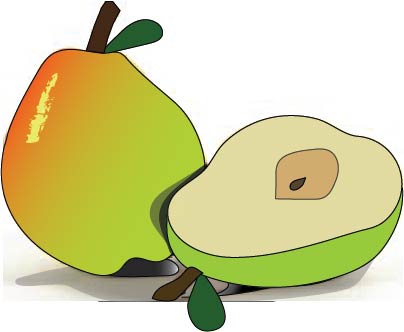
Using the pen tool we were required to trace a pear and make it look as realistic as possible. Using the pen tool I traced the pears, the shadows, stem, and the core. Each objected traced was a on a different layer. For the pear standing up I created a gradient, and placed it into the pear and tilted the gradients axis to -4 so the orange-red color could be on the left corner as it was on the original pear. For the second pear I traced the bottom half on a separate layer and filled it in with color, the top of the second pear was traced on to a different layer and the light yellow color was added. The core was traced on to a different layers and filled in with a light brown and the opacity was turned down from 100% to 63%. The shadow between the two pears are two differnt shapes made with the pen tool and the smooth tool to make the edges smoother. The shadow is also two different layers and each layer is a different opacity. The leaves were an add on, I created the leaves.
Pear Advertisement
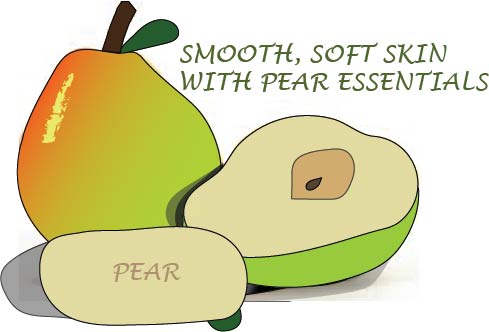
We had to create an adverstisment including the pear. I created Pear Essentials which is a faux brand that makes soap that smells likes pears and leaves the skin, smooth and soft. I created a new layer and added the text "SMOOTH, SOFT SKIN WITH PEAR ESSENTIALS". I then created a new layer and created a shape to look like a bar of soap with thr pen tool, and smoothened the shape out so it does not have any sharp edges. Then I made the pear the same color as the inside of the pear and created a new layer and typed "PEAR" on to the bar of soap. I created a shadow on a new layer behind the layer that has the pear on it.
Teen Safe Jobs for Youth Poster Contest
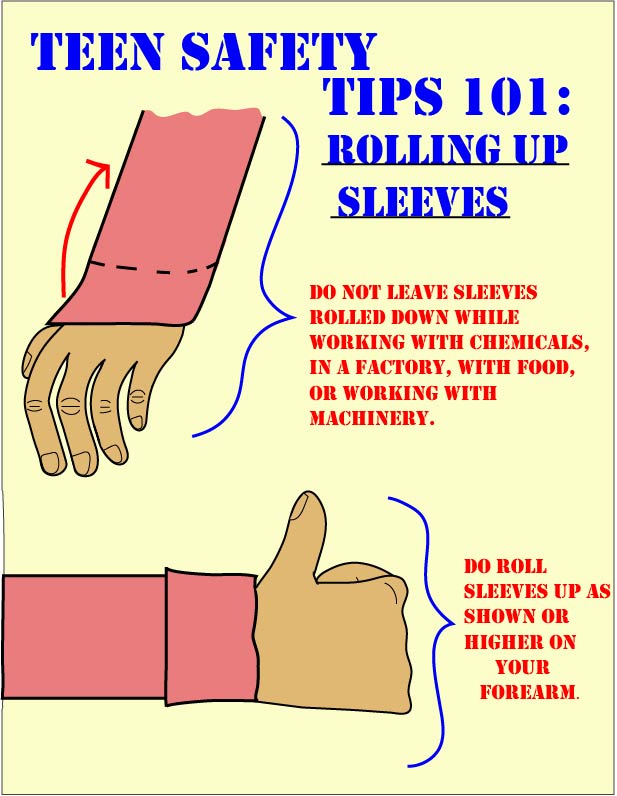
There is a Massachusetts contest for teen safety jobs. The poster must be 17x11 inches, we must come up with a phrase about ehy good teen jobs are safe and healthy ones. The poster must include the words "teen" or "youth" and "work" of "job". The deadline is December 8th, 2014. Prizes included $500 to the first place winner, $200 to the second place winner, and $100 to the third place winner, all finalists will receive certificates of recognition and be invited to an Awards Ceremony at the Massachusetts State House.
For my poster I did the safety rule Rolling Up Sleeves. I created the hand and the sleeves with the pen tool, every line on the hand and on the poster was created from the pen tool and each object is on a different layer. I smoothed the edges out of each shape. I then created the text with the font "STENCIL".
For my poster I did the safety rule Rolling Up Sleeves. I created the hand and the sleeves with the pen tool, every line on the hand and on the poster was created from the pen tool and each object is on a different layer. I smoothed the edges out of each shape. I then created the text with the font "STENCIL".
